Transforming a standard vehicle into a cozy home on wheels is a dream for many adventurers, and it’s fantastic that you’re considering it! Whether you’re gearing up for an epic road trip or planning on embracing “van life”, converting your vehicle into a campervan can be a fun and rewarding DIY project.
With the right planning and tools, you’ll be cruising in style in no time!
Keep in mind that this guide offers general information and is not professional advice. If you’re looking for expert support and guidance, don’t hesitate to contact Roadtrek. They can provide you with the professional assistance you need to make your campervan dreams a reality.
How to Plan Your Timeline and Budget
A solid plan is essential for a smooth conversion process before getting started. Planning your timeline and budget can save you stress and money down the line.
Set Your Timeline
- Assess the Project Scale: Decide whether you’re aiming for a simple setup or a fully self-contained campervan with all amenities. This will affect how much time you’ll need.
- Break it into Phases: Break the project into manageable sections, such as insulation, flooring, cabinetry, and so on.
- Allow Room for Delays: Factor in extra time for troubleshooting or waiting for materials.
Plan Your Budget
- Set a Realistic Budget: Depending on whether you go bare or high-end, vehicle conversions in Australia can range from $5,000 to $50,000 or more.
- List Your Priorities: Invest more in areas that matter most, such as safety systems or a quality mattress.
- Track Every Expense: Use a spreadsheet or app to monitor costs for materials, tools, and contractors (if needed).
Getting the Right Materials and Tools
The materials and tools you choose will impact your campervan’s durability, comfort, and overall style. Selecting wisely ensures your vehicle can handle Australia’s diverse conditions.
Essential Materials
- Insulation: Materials like reflective foil, foam boards, or recycled wool are lightweight and effective for temperature control.
- Flooring: Vinyl is easy to clean, while laminate or marine-grade plywood adds durability.
- Cabinetry: Lightweight timber, such as plywood, is strong yet helps keep the total van weight manageable.
- Appliances: Compact and efficient appliances like 12V fridges or propane stoves are perfect for small spaces.
- Paint and Finishes: Non-toxic, durable paints and sealants for walls and cabinetry.
Must-Have Tools
- Power drill and screws
- Jigsaw or circular saw
- Measuring tape
- Hand sander or sanding blocks
- Safety gear (gloves, goggles, ear protection)
- Wire strippers and crimping tools (for electrical work)
Shopping at Australian hardware stores or online camper van retailers can help you find everything you need.
Key Steps in Construction
Building out your van from scratch can be broken down into smaller, achievable steps. Focus on doing each part methodically for a safe and functional result.
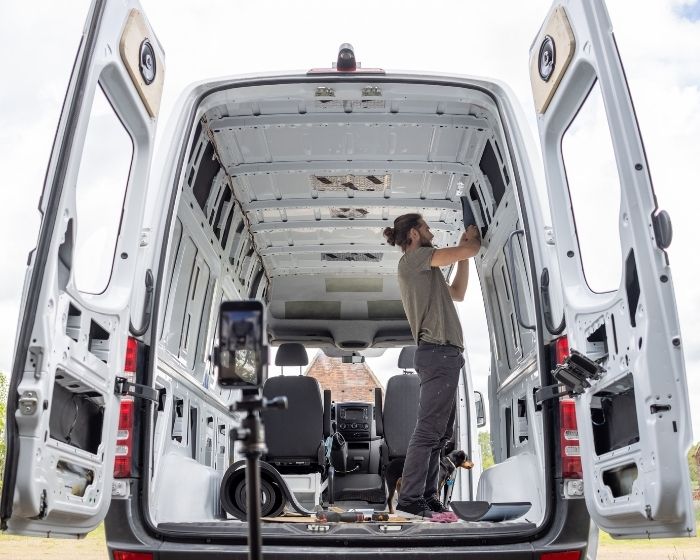
Step 1: Insulation
Insulating your van is critical for maintaining a comfortable indoor temperature, whether you’re exploring the outback or coastal regions.
- Install Reflective Barriers: Apply reflective foil on walls and ceiling to block radiant heat.
- Insert Foam Panels: Add foam board or wool insulation panels within wall cavities.
- Seal Gaps: Use expanding foam or tape to reduce heat loss and noise.
Step 2: Flooring
A strong and durable floor sets the foundation for your build.
- Lay Down a Subfloor: Cut and secure plywood or similar material to create an even surface.
- Choose Your Top Layer: Vinyl flooring is lightweight, durable, and easy to clean.
- Add Foam Underlays: Improves insulation and comfort underfoot.
Step 3: Cabinetry and Storage
Maximising vertical and under-bed storage is key to keeping your space tidy.
- Custom-Build Storage Units: Use lightweight timber to create compact cabinets and drawers.
- Consider Sliding Systems: Sliding doors and pull-out drawers are space-saving and practical.
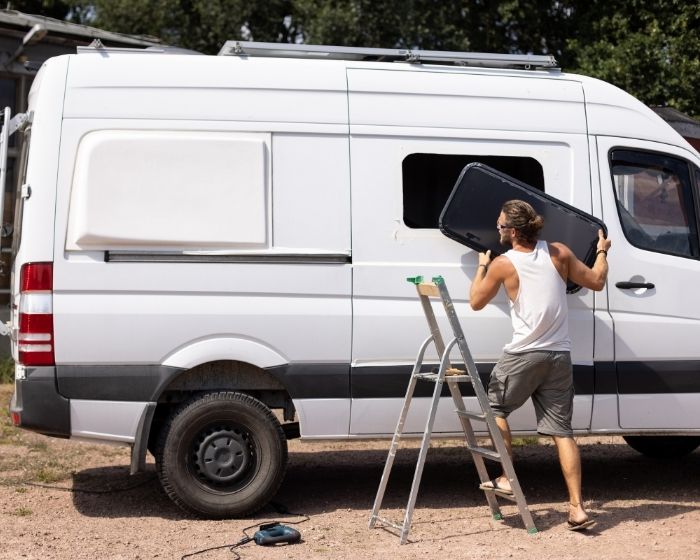
Step 4: Appliances and Features
This is where your setup becomes functional.
- Kitchen Area: Install a small sink, water pump, and compact propane stove.
- Sleeping Area: Build a sturdy bed frame with enough clearance for a storage area underneath.
- Ventilation: Add roof vents or small fans for airflow, especially when cooking.
Addressing Plumbing and Electrical Setup Safely
The plumbing and electrical systems are the backbone of your campervan’s functionality. Proper installation is crucial for safety and reliability.
Plumbing Setup Tips
- Fresh and Grey Water Tanks: Use food-grade materials for your fresh water tank. Store grey water tanks securely to prevent leaks.
- Water Pump: Install a simple 12V pump for running water in your sink or shower.
- Hot Water Systems: Compact, propane-powered water heaters are ideal for Australian conditions.
- Leak Checks: Use high-quality hoses and seals to prevent leaks during bumpy rides.
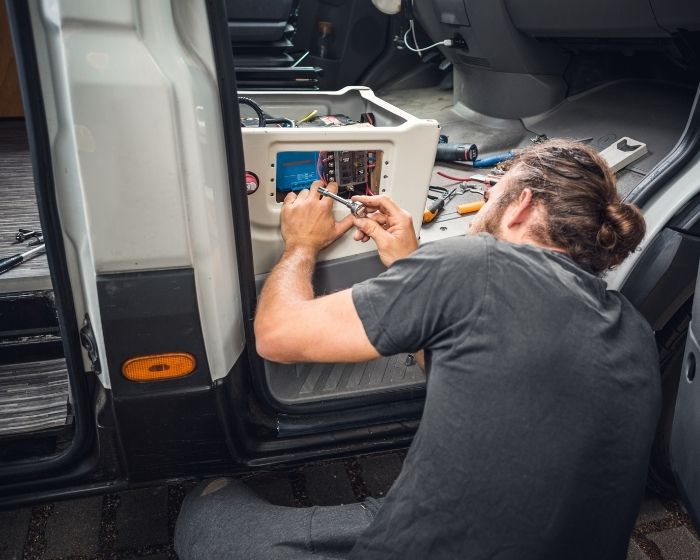
Electrical Setup Tips
- Plan Your Power Needs: Assess how many appliances and devices you’ll run to determine battery capacity and solar panel size.
- Solar Panels: Consider flexible or rigid panels mounted on your roof to harness Australia’s abundant sunshine.
- Batteries and Chargers: Install deep cycle batteries with a 12V system and an inverter for appliances requiring 240V.
- Safety First: Use correctly rated circuit breakers and follow wiring diagrams to prevent electrical hazards.
Pro Tip: If unsure about plumbing or wiring, hire a licensed professional. Safety should be a top priority!

Final Thoughts
Converting a vehicle into a campervan requires dedication and attention to detail. The result is a home on wheels that reflects your personality and meets your needs. By planning your timeline and budget, selecting the right materials, and following the outlined steps, you will create a campervan that is ready to explore Australia’s incredible landscapes.
When it comes to certain aspects of your conversion, such as plumbing and electricity, Roadtrek can be a valuable resource. We offer high-quality parts and fitting and expert advice to help you navigate these critical systems, ensuring that your campervan functions smoothly and safely. With our support, you can tackle the technical challenges of your build with confidence.
Whether you’re dreaming of long drives through the outback or relaxing days by the beach, transforming your van into a mobile home offers the promise of freedom and adventure at your fingertips. Happy building!
