Ensuring that the windows of your caravan or motorhome are watertight is crucial for preventing water damage, dust intrusion, and costly repairs. Over time, seals can deteriorate due to harsh weather conditions, constant vibrations, or simply aging. Regular inspections and resealing are essential for maintaining a dry and comfortable living space, particularly in Australia’s diverse and challenging climates.
Please note that this is general advice only. For professional support and assistance specific to your vehicle, we recommend contacting Roadtrek.
Here’s a guide to help you check and reseal your windows, protecting your home on wheels.
Common Causes of Dust Ingress and Window Seal Wear
Understanding the factors that cause seal degradation helps you maintain window integrity more effectively. Here are some common culprits:
1. Exposure to Weather Elements
- Harsh sun, heavy rain, and strong winds, especially in Australia, can cause rubber seals to dry out and crack.
- Fluctuations in temperature can lead to seal expansion and contraction, weakening the bond over time.
2. Vehicle Vibrations and Movement
- Frequent driving over rough terrain or unsealed roads can loosen or dislodge seals, leaving gaps for dust and moisture.
- Prolonged travel vibrations wear down adhesive over time, reducing the effectiveness of seals.
3. Age and Natural Wear
- Like most materials, rubber and plastic seals degrade over time. This is especially common in caravans and motorhomes over five years old.
4. Incorrect or Poor-Quality Sealant Application
- Previous repairs using poor-quality or non-weatherproof sealants can result in early failure of window seals.
What Happens Without Proper Sealing?
When seals fail, your motorhome or caravan becomes vulnerable to water damage, mould growth, and rust. Dust ingress can also compromise air quality and create a constant cleaning headache. Prevention is always better (and cheaper) than dealing with the damage later.
Tools and Materials Needed for Resealing Windows
Resealing your caravan or motorhome windows doesn’t require advanced skills, but having the right tools and materials ensures a professional finish. Here’s what you’ll need:
Essential Tools
- Utility knife (for cutting away old seals)
- Plastic scraper (to avoid scratching surfaces)
- Wire brush (for cleaning frames if rust is present)
- Screwdriver (if window frames need removal)
- Caulking gun (for applying sealants)
- Microfibre cloths or rags
Materials
- Silicone-free sealant (such as polyurethane or butyl rubber, suitable for Australian conditions – more on this later)
- Isopropyl alcohol or adhesive remover (for cleaning)
- Masking tape (helps achieve clean edges around the sealant)
- Replacement rubber seals (specific to your window model, if needed)
Maintaining a clean and safe workspace will make the resealing process smoother and more efficient. Make sure to work in a dry, well-ventilated area away from direct sunlight.
Step-by-Step Guide to Inspecting and Repairing Window Seals
Tackling window resealing systematically ensures you don’t miss any crucial steps. Follow this detailed guide to check and reseal window seals:
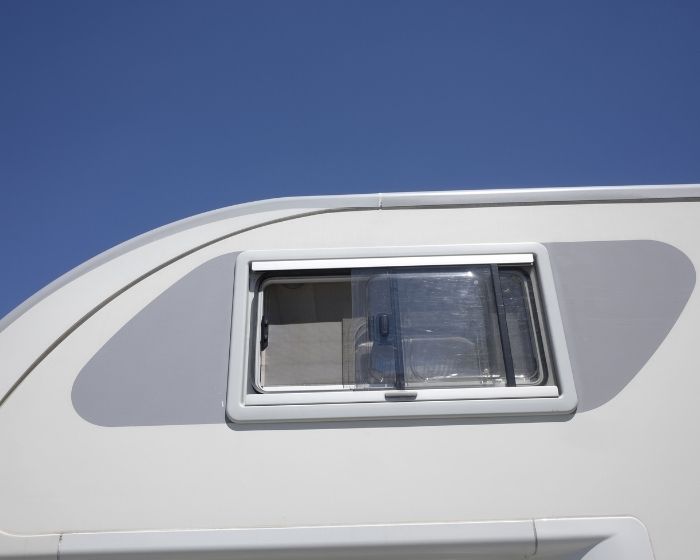
Step 1: Inspecting for Damage
- Look for Visible Cracks or Gaps: Check around the entire perimeter of each window. Pay close attention to corners and edges where seals tend to fail first.
- Test for Dust and Water Entry: Spray water around the window and look for leaks on the inside. If driving on dirt roads, inspect for dust accumulation inside the seal.
- Check Rubber Flexibility: Gently press the seals to ensure they remain soft and pliable. If they feel brittle, they likely need replacement.
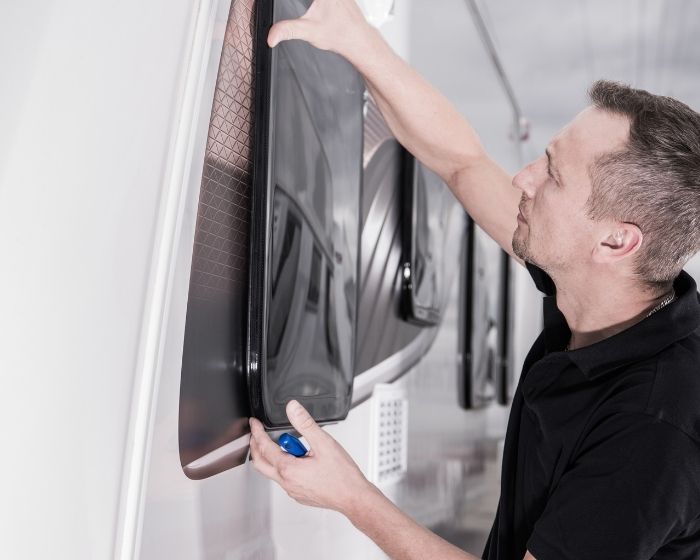
Step 2: Removing Old Seals and Sealant
- Cut Away Old Sealant: Use a utility knife to remove deteriorated sealant carefully. A plastic scraper can help to remove stubborn remnants.
- Take Extra Care with the Window Frame: Avoid scratching or damaging the frame to ensure a tight new seal.
- Clean Thoroughly: Wipe the area using isopropyl alcohol or adhesive remover to remove residue and prepare for the new sealant.
Step 3: Apply New Seals or Sealant
- Reapply Rubber Seals (if replacing): Ensure the new seals are cut and fitted tightly to the frame.
- Mask the Edges: Use masking tape around the window frame to prevent sealant from smudging outside the required area.
- Apply Sealant: Use a polyurethane-based sealant and apply it evenly around the window using a caulking gun. Smooth it out with your finger or a sealant tool for a clean finish.
- Remove Masking Tape: Carefully peel away the masking tape before the sealant has cured to maintain a neat edge.
Step 4: Allow Proper Curing Time
- Leave the sealant to cure per the manufacturer’s recommendations (this is usually 24-48 hours). During this time, avoid driving or exposing the area to water.
Step 5: Final Checks
- Once cured, test the seal with water to ensure it’s watertight. Repeat the spray test to check for leaks.
- Inspect the seals periodically during trips to ensure they’re holding up.
Choosing the Right Sealants for the Australian Climate
Not all sealants are created equal, and the Australian climate adds unique challenges you’ll need to consider. The right sealant will ensure a long-lasting and secure result.
1. Use Silicone-Free Sealants
Silicone can deteriorate over time under UV exposure, making it unsuitable for caravans and motorhomes that spend a lot of time in the sun. Instead, choose these options:
- Polyurethane Sealants: High durability, UV-resistant, and strong adhesion, making it ideal for Australian conditions.
- Butyl Rubber Sealants: Flexible and superior at handling movement caused by temperature changes or vehicle vibrations.
2. Opt for UV-Resistant Products
Australia receives intense sunlight, so choosing a UV-stabilised sealant will help prevent cracking or shrinking in the long term.
3. Pay Attention to Temperature Ratings
Sealants designed for wide temperature ranges are better suited to Australia’s hot summers and cool nights.
Top Tip: Always check the manufacturer’s specifications on the sealant packaging to ensure compatibility with your frame material (e.g., aluminium or fibreglass).
Final Thoughts
Regularly checking and resealing your caravan or motorhome windows is a simple yet crucial task that will save you from water damage, dust issues, and expensive repairs. By understanding the causes of seal wear, using the right tools, and following proper application methods, you’ll ensure your van stays dry and road-ready.
With the right sealants and care tailored to Australian conditions, your windows will be well-equipped to handle the scenery and challenges of this beautiful country. Stay vigilant, prioritise maintenance, and you’ll enjoy your travels worry-free!

