Introduction
Water damage is a common issue for many motorhome and caravan owners. Whether caused by leaks, condensation, or spills, water damage can quickly escalate into more severe structural problems if not addressed promptly. This article aims to help you identify, assess, and fix water-damaged floors in your motorhome or caravan, ensuring the longevity and safety of your vehicle.
Section 1: Understanding Water Damage
Causes of Water Damage
- Leaks from Plumbing Systems: Faulty pipes, connections, or fixtures can lead to water seeping into the flooring.
- Roof and Window Leaks: Poorly sealed windows or roof panels can allow rainwater to enter the vehicle.
- Condensation and Humidity: High humidity levels inside the vehicle can cause moisture buildup, leading to water damage over time.
Signs of Water Damage
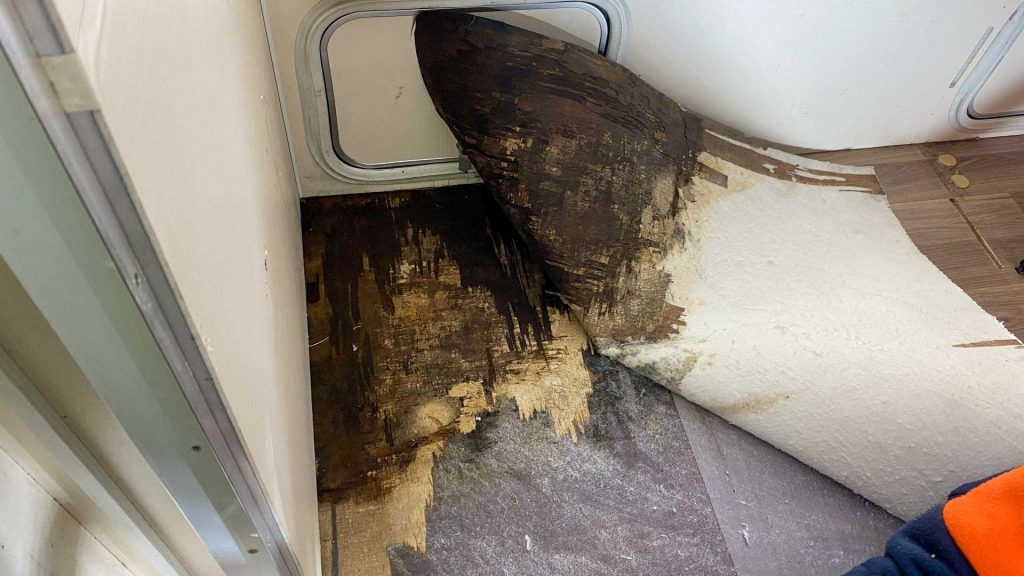
- Soft or Spongy Spots on the Floor: Indicate weakened structural integrity due to prolonged moisture exposure.
- Discolouration or Staining: Visible changes in floor colour, often appearing as dark patches.
- Musty Odors: A persistent musty smell can indicate hidden mould or mildew.
- Visible Mold or Mildew: Mould or mildew growth on the surface or beneath the flooring.
Section 2: Assessing the Extent of Damage
Visual Inspection
- Check for visible signs of damage on both the flooring and walls.
- Inspect under carpets and rugs, as water damage may be hidden beneath these coverings.
Using Moisture Meters
- Use a moisture meter to detect hidden moisture within the flooring and subfloor.
- Recommended models include the Protimeter Surveymaster and General Tools MMD4E for their accuracy and ease of use.
Structural Assessment
- Examine the subfloor and floor joists for signs of rot or weakness.
- If the damage is extensive, consider consulting a professional for a thorough assessment and repair plan.
Section 3: Preparing for Repair
Gathering Tools and Materials
- Tools: Pry bar, utility knife, hammer, screwdriver, moisture meter
- Materials: Replacement flooring, sealant, wood filler, screws, waterproof membranes
Safety Precautions
- Wear protective gear such as gloves, masks, and goggles to protect yourself from mould spores and debris.
- Ensure proper ventilation in the work area to avoid inhaling harmful particles.
Removing Furniture and Appliances
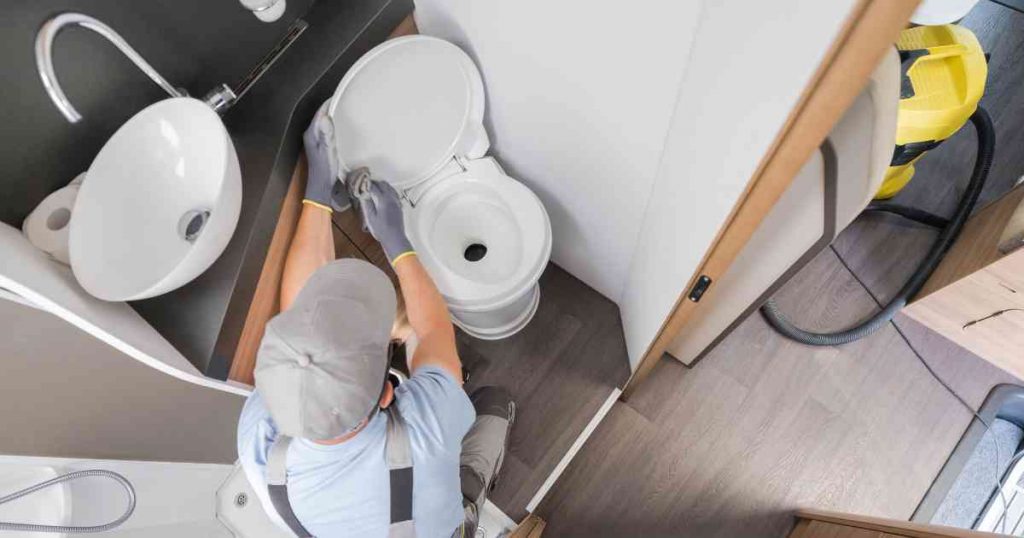
- Carefully remove all furniture and appliances from the affected area to create a clear workspace and prevent further damage.
Section 4: Removing Damaged Flooring
Removing Carpet or Vinyl Flooring
- Use a utility knife to cut the carpet or vinyl flooring into manageable sections.
- Gently pull up each section carefully to avoid damaging the subfloor underneath.
Removing Hardwood or Laminate Flooring
- Use a pry bar and hammer to carefully lift the planks, starting from one end of the room.
- Work slowly to avoid breaking the planks if they are still salvageable.
Disposing of Damaged Materials
- Dispose of all water-damaged materials according to local regulations to prevent mould spread and environmental hazards.
Section 5: Repairing and Replacing the Subfloor
Assessing Subfloor Damage
- Identify areas of the subfloor that are rotten, warped, or weakened and need replacement.
Cutting Out Damaged Sections
- Use a circular saw to cut out the damaged sections of the subfloor.
- Remove the damaged pieces carefully, ensuring you don’t disturb the surrounding good subfloor.
Installing New Subfloor Panels
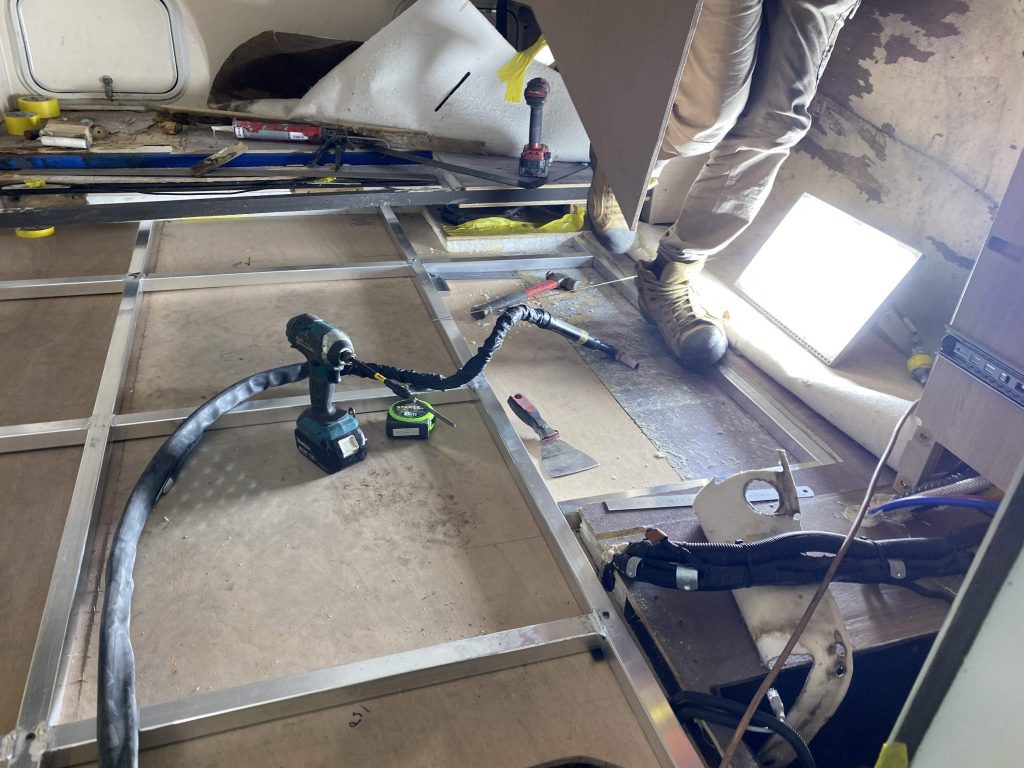
- Measure and cut new subfloor panels to fit the removed sections.
- Secure the new panels with screws or nails, ensuring they are flush with the existing floor.
Section 6: Sealing and Waterproofing
Sealing Gaps and Seams
- Apply sealant to all gaps and seams in the subfloor and around plumbing fixtures to prevent future leaks.
Waterproofing the Subfloor
- Use waterproof membranes or coatings to provide additional protection against moisture.
Inspecting Plumbing and Roof Seals
- Regularly check plumbing connections and roof seals for potential leak sources and repair any weak spots immediately.
Section 7: Installing New Flooring
Choosing Replacement Flooring
- Types of Flooring: Consider using vinyl, laminate, or carpet tiles, which are durable and moisture-resistant.
- Factors to Consider: Durability, ease of installation, maintenance requirements, and aesthetics.
Installing the New Flooring
- Follow manufacturer instructions for installing your chosen flooring type.
- Ensure a secure and level installation to prevent future issues.
Finishing Touches
- Trim excess material and secure edges to complete the installation.
- Reinstall furniture and appliances, placing them on stable and dry surfaces.
Section 8: Preventative Measures
Regular Inspections
- Regular inspections should be conducted to catch potential issues early and avoid extensive damage.
- Create a maintenance schedule to stay on top of routine checks.
Improving Ventilation
- Improve ventilation by opening windows, using vents, and installing exhaust fans to reduce moisture buildup.
Using Dehumidifiers
- Place dehumidifiers in your motorhome or caravan to maintain optimal humidity levels and prevent condensation.
Proper Plumbing Maintenance
- Regularly check and maintain plumbing systems to detect and fix leaks promptly.

Conclusion
Water damage can compromise the structural integrity of your motorhome or caravan. Still, you can maintain a safe and comfortable environment by identifying and addressing it promptly. Regular inspections, proper maintenance, and immediate repairs are crucial to keeping your vehicle in top condition.
By following the steps outlined in this guide, you can effectively identify and fix water-damaged floors, ensuring the longevity and reliability of your motorhome or caravan. Remember, addressing water damage early is key to preventing more extensive and costly repairs in the future.
Stay proactive, maintain your vehicle diligently, and enjoy worry-free travels!

